Welcome to Keywording.ai short guide.
Pro version
2 Tokens = 1 image generation (title, description, keywords)
Step 1: Upload Your images.
Use “Upload” button or drag and drop images:
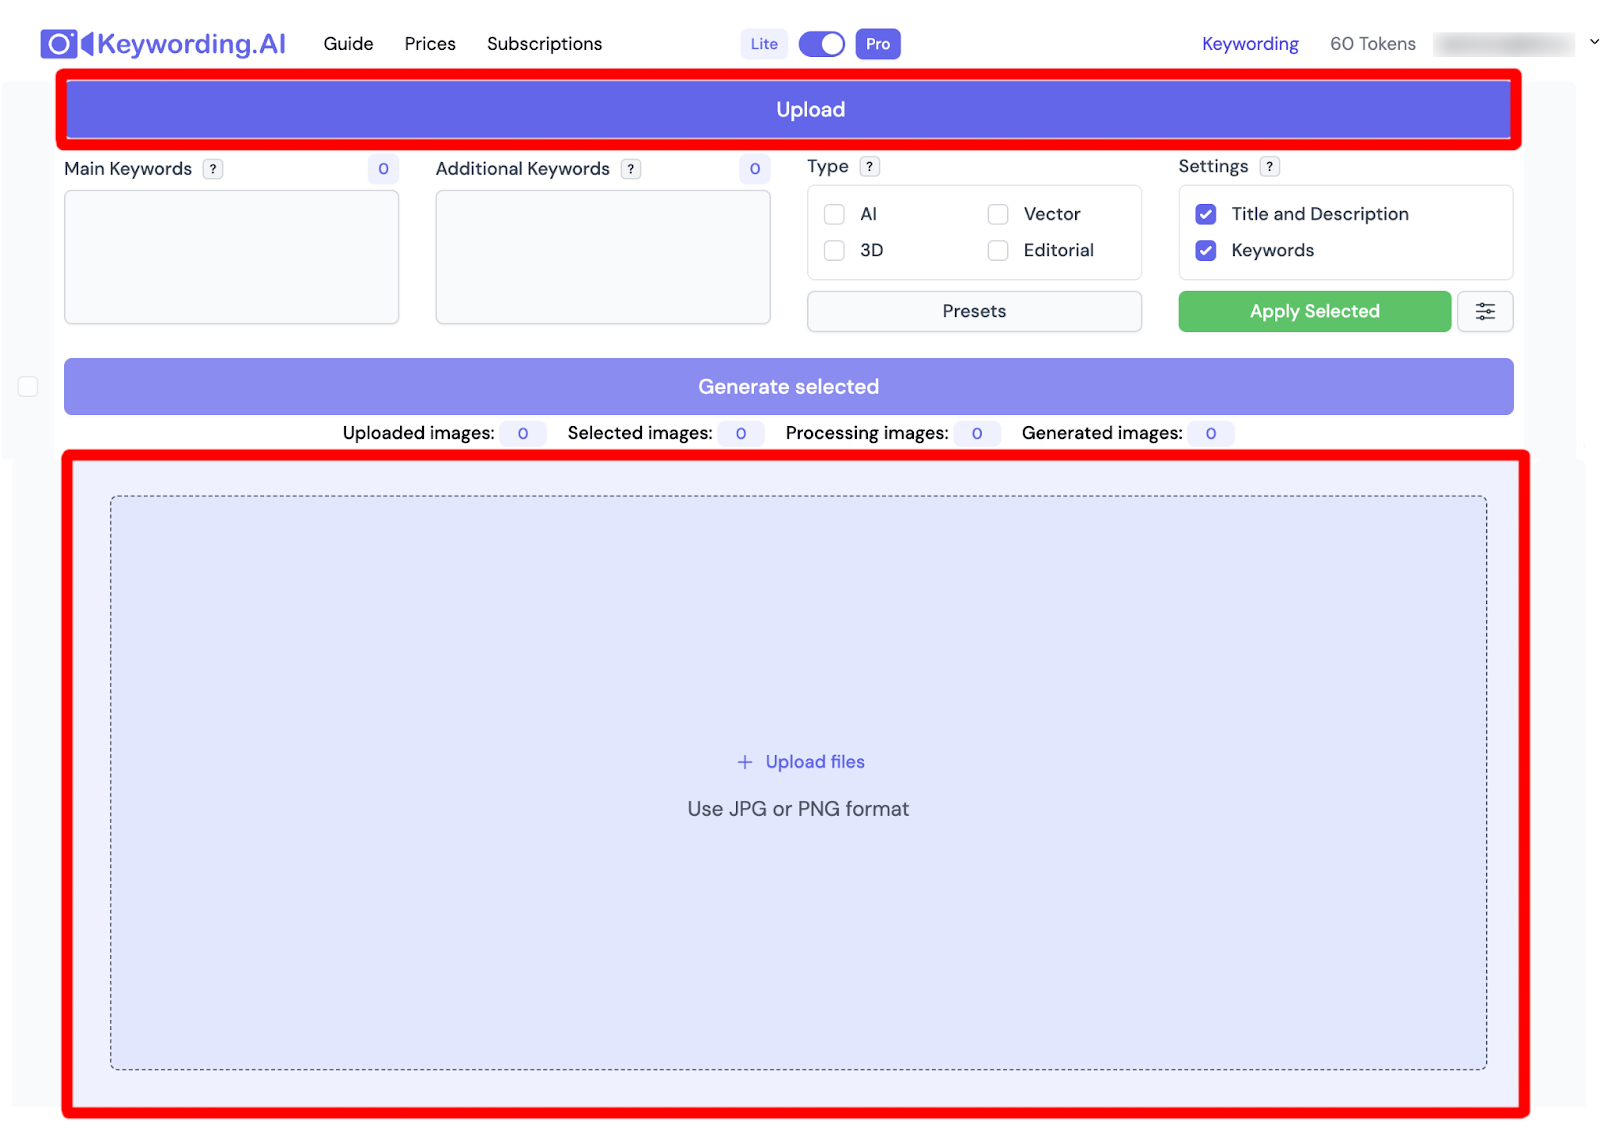
You can upload max 500 images in one batch and we do not have max file size.
Step 2: Choose settings that will be valid for all pictures to which you apply them (if You need).
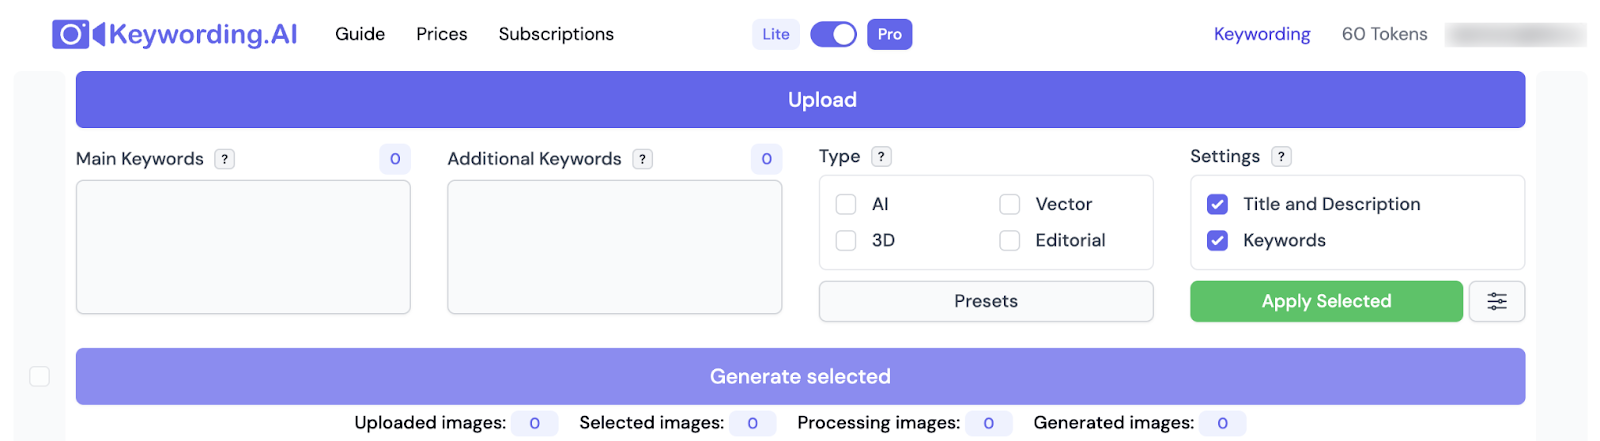
2.1 Use fields “Main Keywords” and “Additional Keywords” if you want the words you write to be accurately written in Your pictures keywords.
“Main Keywords” - all words from this field will 100% be in each picture to which you apply the settings, and will be highlighted in green.
“Additional Keywords” - 30% of the words from this field will be randomly selected for each picture to which you apply the settings and will be highlighted in blue.
2.2 Use checkboxes of Images Types:
“AI“
In the description will add - AI Generative.
In the keywords will be added - ai, generative, illustration,
“Vector”
In the description will add - Vector Illustration.
In the keywords will be added - vector, illustration,
“3D”
In the description will add - 3D Rendering.
In the keywords will be added - 3d, render, illustration,
“Editorial”
In the description will add - Template to fill in the date and location of editorial shooting.
In the keywords will be added - editorial,
F - default image type, in which nothing is added (for example, for regular photos).
2.3 Use checkboxes “Title and Description” and “Keywords”:
“Title and Description” - Title and Description will be written, to which pictures you apply the settings.
“Keywords” - Keywords will be written, to which pictures you apply the settings.
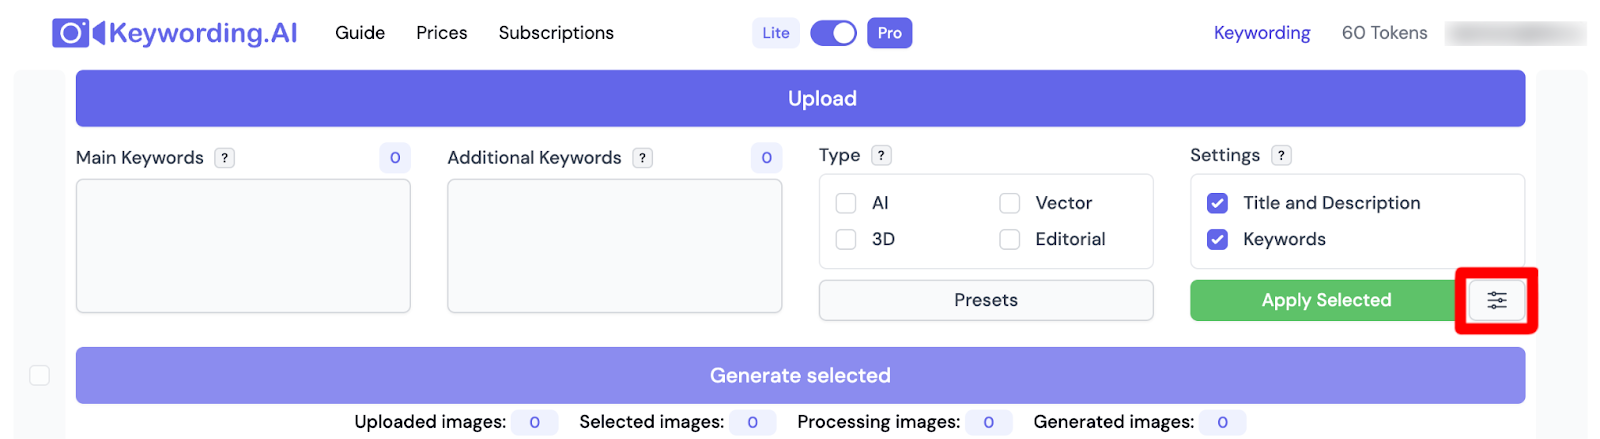
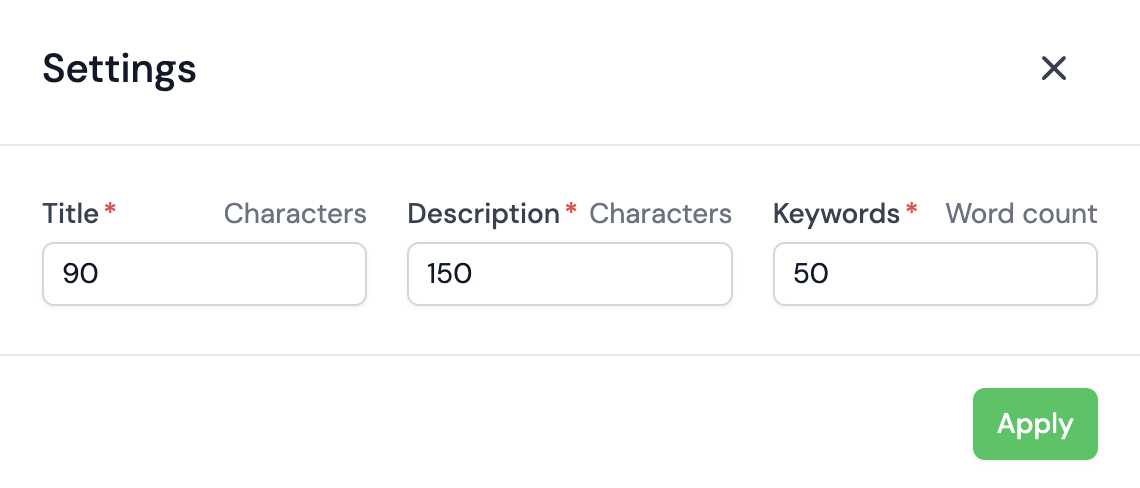
2.4 Use the “Settings” button to set the approximate number of characters for Title and Description, as well as the exact number of keywords you want to receive in each picture to which you apply the settings.
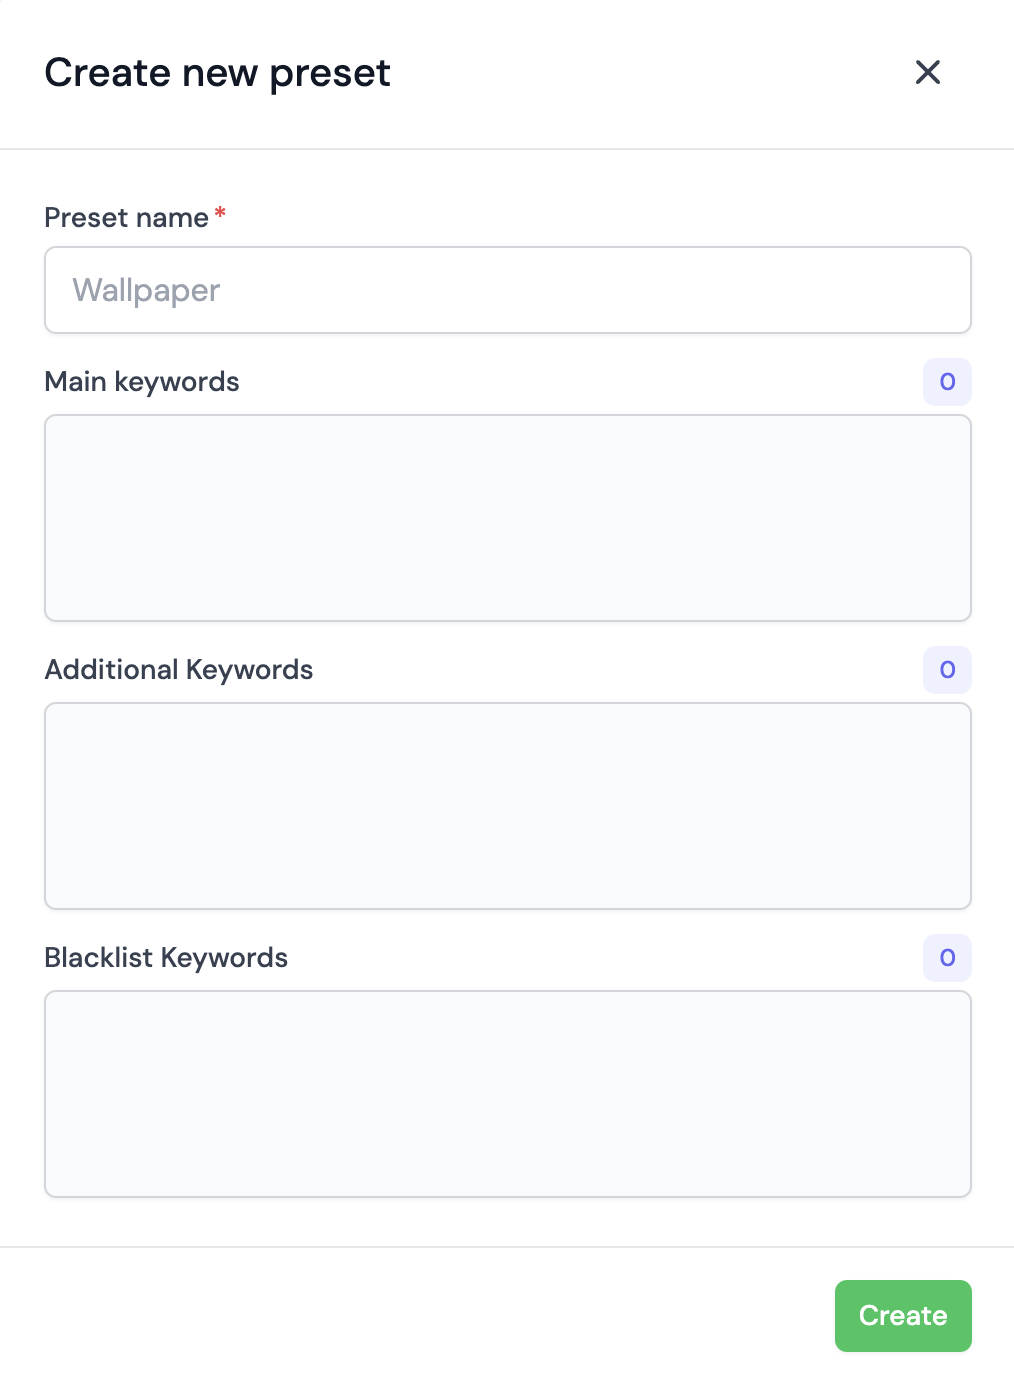
2.5 You can also create and apply “Presets” with the ability to automate filling in the fields “Main Keywords”, “Additional Keywords”, and “Black List” (words that will not be included in the list of keywords)
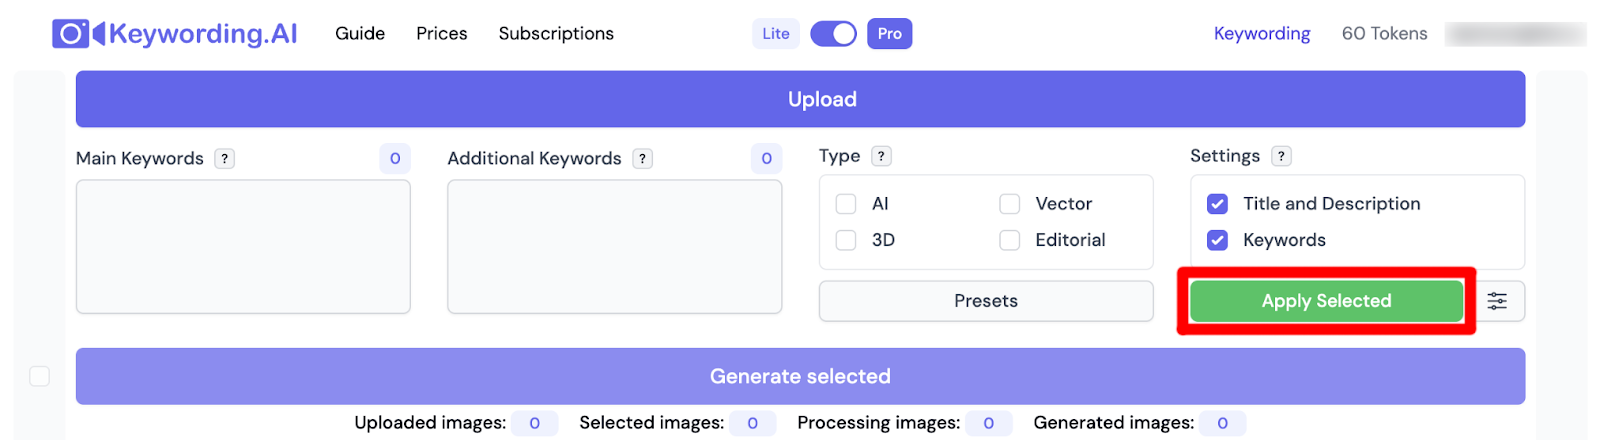
2.6 After making the settings, select the pictures to which you want to apply them and click the “Apply Selected” button.
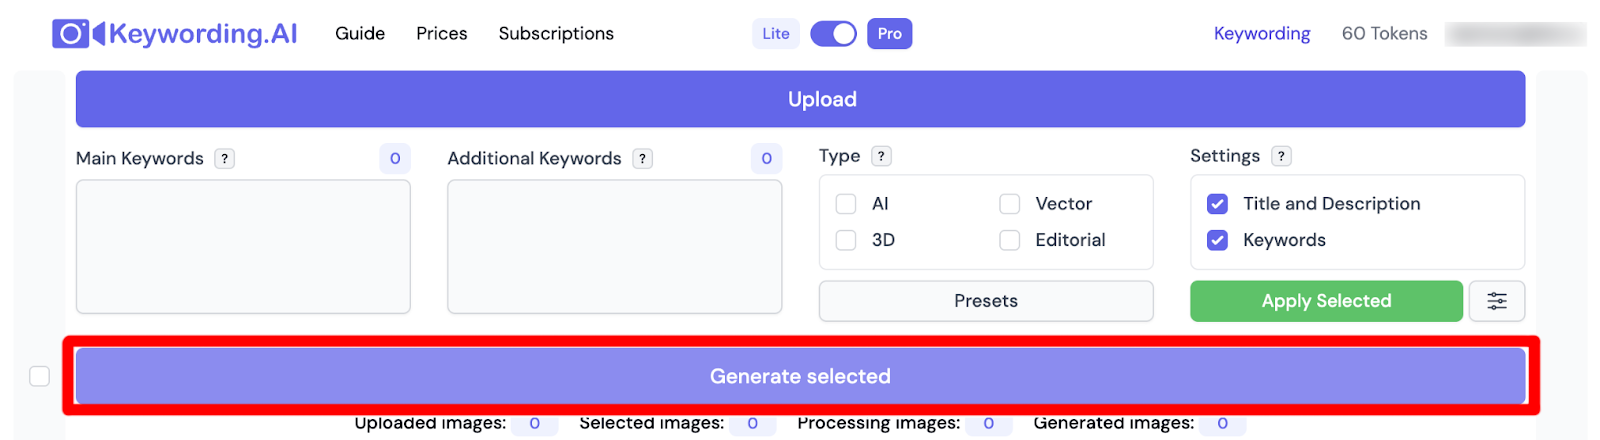
Step 3: To generate Title/Description and/or Keywords, select the pictures you need and click “Generate Selected” button
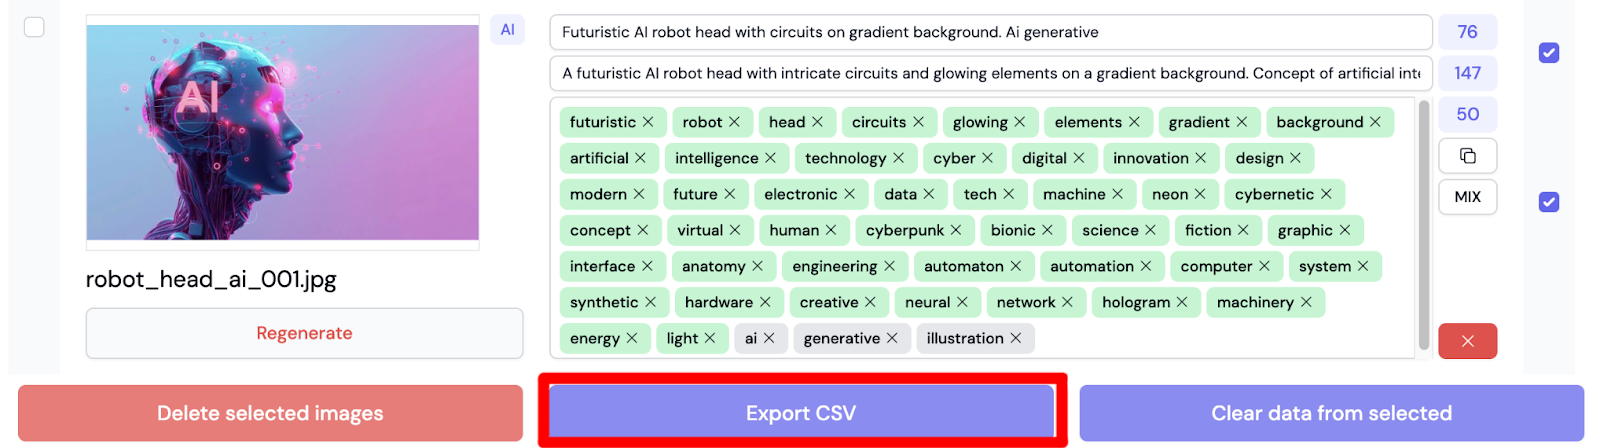
Step 4: After Keywords and/or Titles/Descriptions have been generated, you can edit them.
Keywords can be added, moved, and deleted.
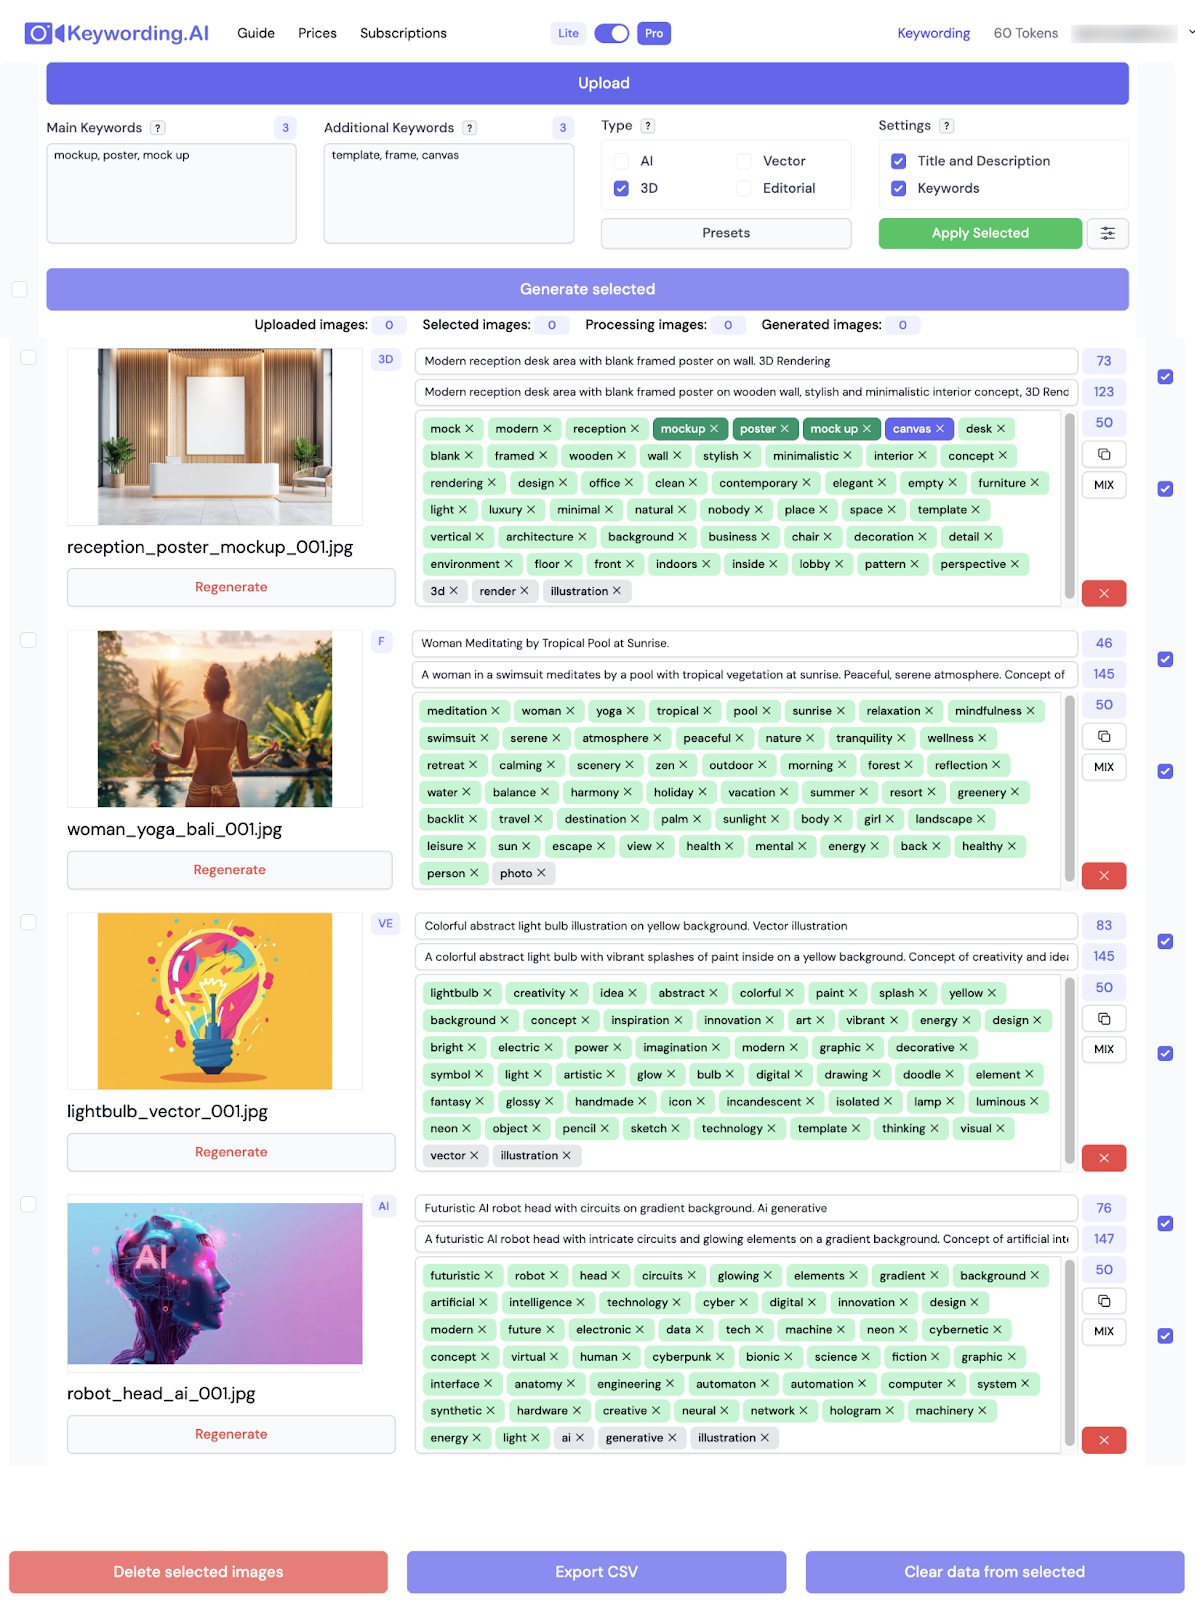
For delete all metadata from selected images, use the “Clear data from selected” button.
Step 5: To save the Title/Description and Keywords to a CSV table, click the “Export CSV” button, and select the option you need.
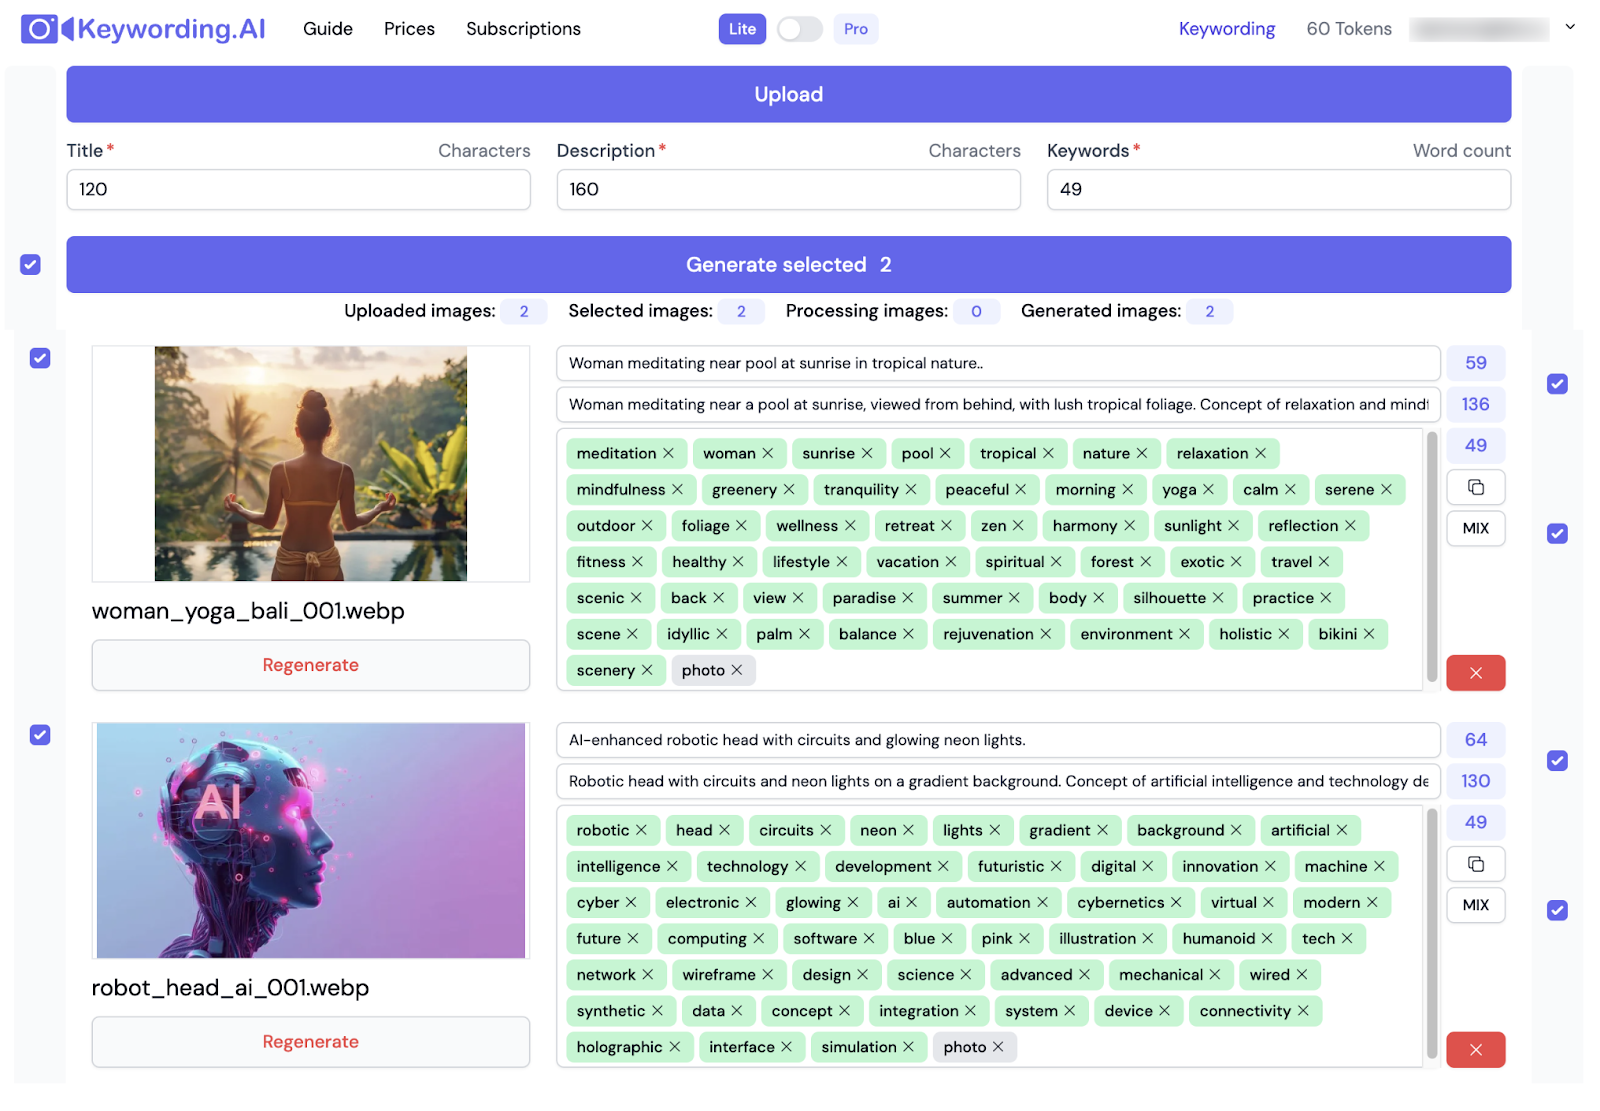
Lite version
1 Token = 1 image generation (title, description, keywords)
Step 1: Upload Your images.
Use “Upload” button or drag and drop images:
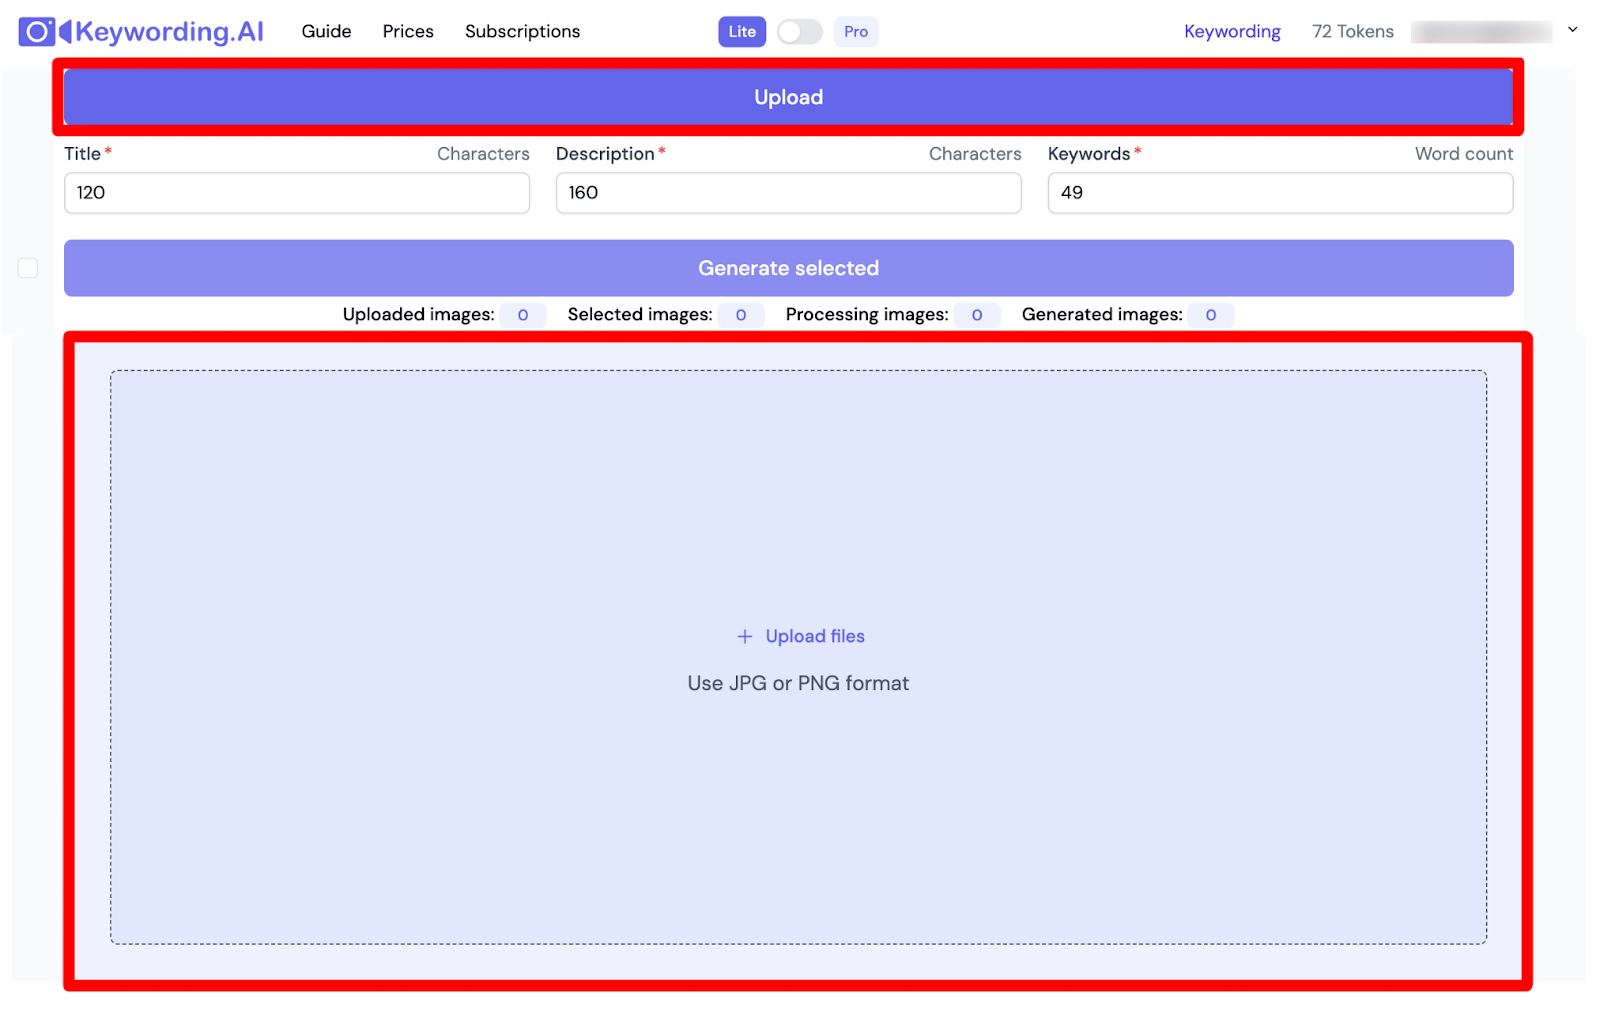
You can upload max 500 images in one batch and we do not have max file size.
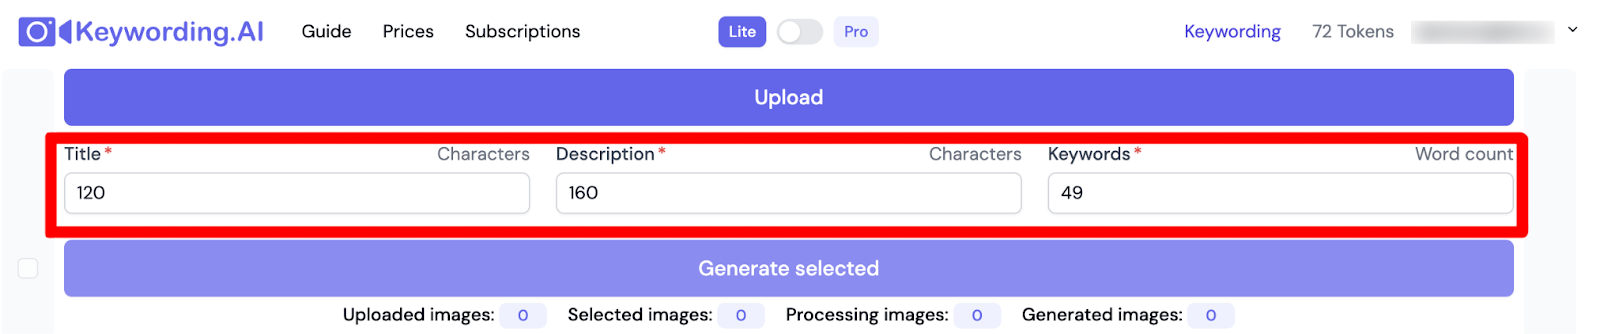
Step 2: Use the “Settings” field to set the approximate number of characters for Title and Description, as well as the exact number of keywords you want to receive in each picture to which you apply the settings.
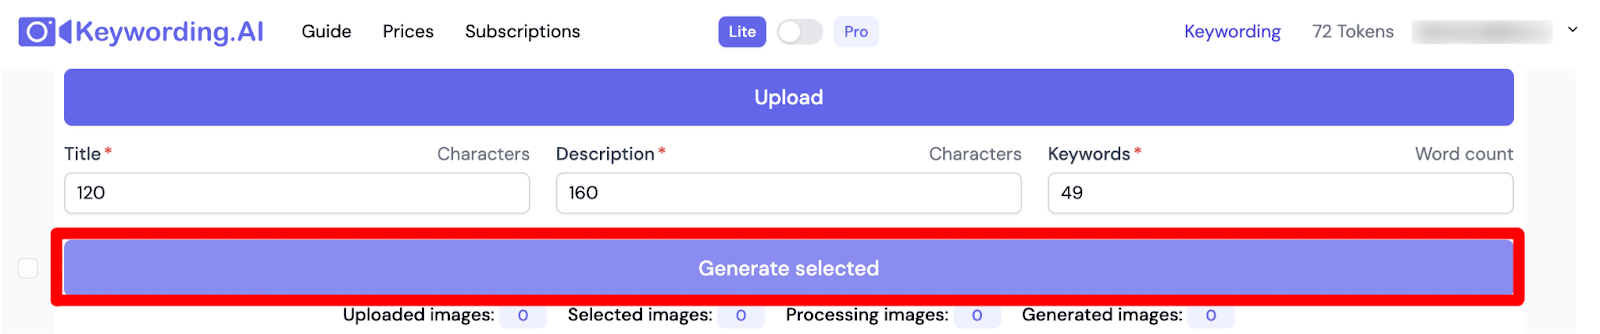
Step 3: To generate Title/Description and/or Keywords, select the pictures you need and click “Generate Selected” button
Step 4: After Keywords and/or Titles/Descriptions have been generated, you can edit them. Keywords can be added, moved, and deleted.
For delete all metadata from selected images - use “Clear data from selected” button.
Step 5: To save the Title/Description and Keywords to a CSV table, click the “Export CSV” button, and select the option you need.
Thanks for using Keywording.AI and Enjoy! 😀
Our service is not available on mobile devices. Please use a computer to access our site.